As you welcome friends and family to your home this Passover season, decorate your front door with this beautiful and fragrant herb wreath. Although some people associate wreaths with Christmas, wreaths actually predate Christianity, and the Mishnah even mentions wreaths made from vine branches (‘Ab. Zarah iv. 2). Today, wreaths are popular throughout the year, and they’re decorated to fit every occasion.
The round shape of this herb wreath symbolizes the circle of life, and the fresh herbs embody spring and new beginnings. In addition to making one for your own home, an herb wreath can also make a thoughtful gift. (If you’re going elsewhere for Passover seder, this is the hostess gift that will get you invited back next year.) Best of all, the herbs dry nicely, so the wreath lasts for months as a decoration, and you can even keep it in the kitchen to use the herbs for cooking.
Although an herb wreath can be very expensive if purchased from a florist, making one yourself is easy and affordable. You just need to take a quick trip to the farmers market and the crafts store.
STEP 1: Start with a grapevine wreath form.

The perfect foundation for the herb wreath is a grapevine wreath form, which you can find at your local crafts store. The twisting vines look like an extension of the herbs, so even if you gradually remove herbs for cooking, the wreath will still look fine. The grapevine wreaths come in various diameters, from 10 inches to 20 inches. The wreath in my photo is 14 inches. Remember that your finished wreath will actually be larger than the wreath form, as the herbs will extend past the edges.
STEP 2: Select your herbs.

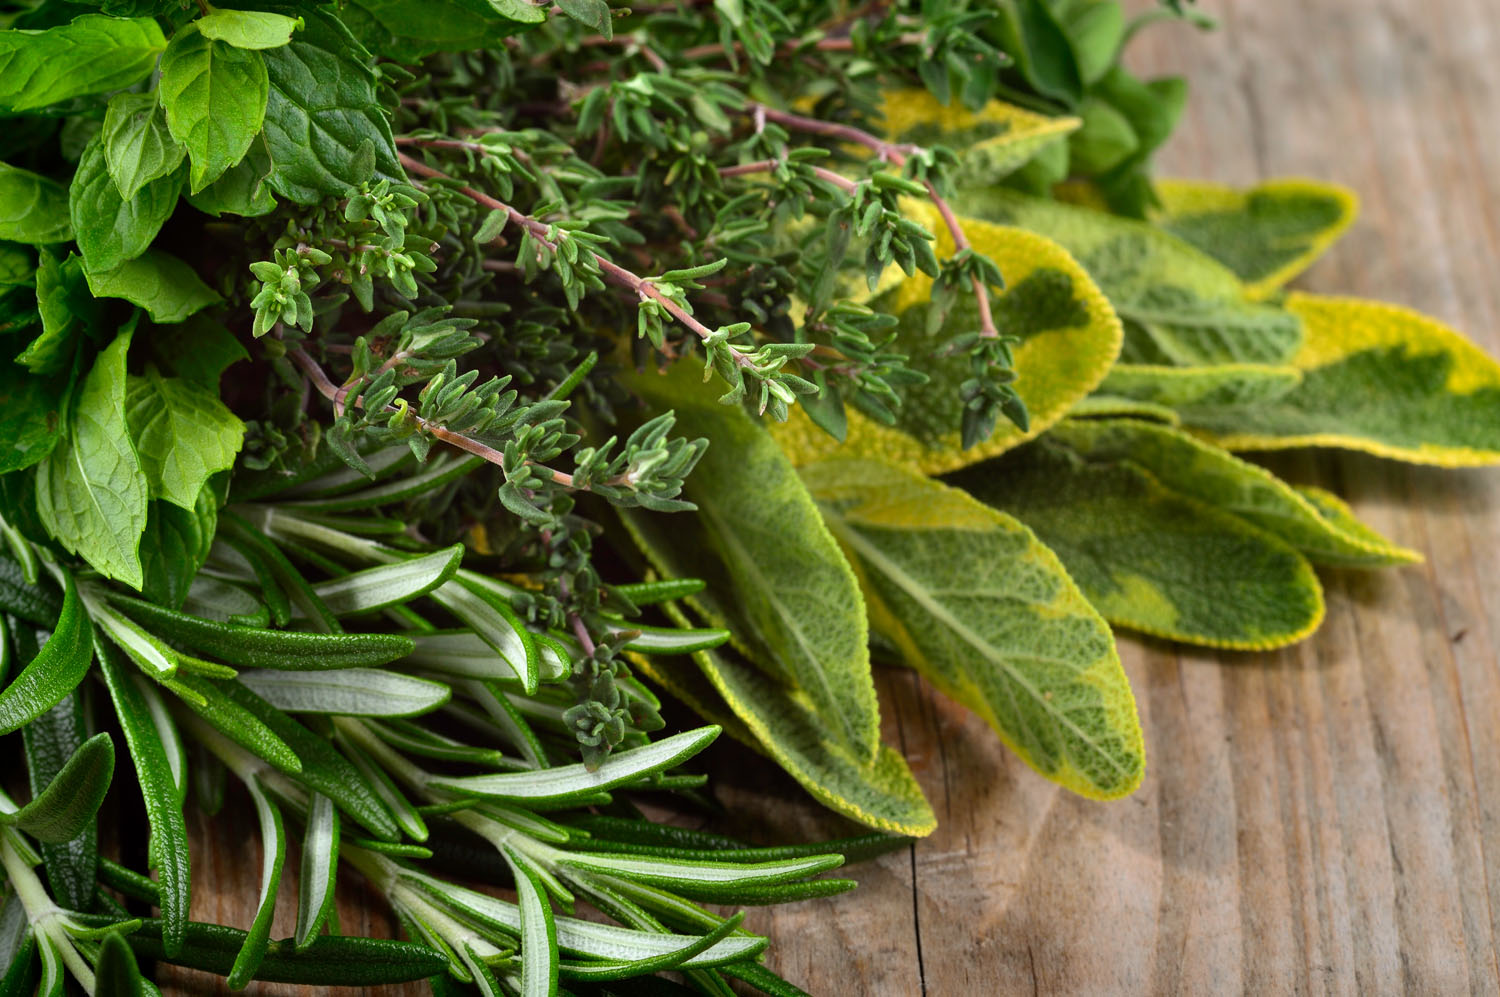
Choose herbs that dry well when left at room temperature. Ideal herbs include rosemary, bay leaves, lavender and thyme. Avoid herbs such as mint and basil, which tend to wilt rather than dry. Sage will become limp, but it still dries wonderfully, so I like to use it as well. Try to incorporate about five different herbs, using four to five bunches of each. At the farmers market, fresh herbs are usually only $1 a bunch, so you can fill up your wreath for $20 to $25. Secure each bunch with a rubber band if they have not already been tied up.
STEP 3: Attach your first herb bunch to the grapevine form.

You will need florist paddle wire, a thin wire that comes wrapped around a paddle, to attach the herb bunches to the wreath. You can find paddle wire in the floral supply section of your local crafts store. Tie one end of the paddle wire to the grapevine wreath, place your first herb bunch on top of the wreath, and wrap the wire around the herbs. To make sure the herbs are secure, be sure to wrap the wire in at least two sections — at the middle of the bunch and at the end of the stems, where they are tied with a rubber band. Don’t worry, the green wire is practically invisible against the herbs.
STEP 4: Continue attaching bunches in the same direction.

The herbs pictured here are all pointing to the left, in a counter-clockwise direction. As you continue adding herbs, layer all the herbs pointing in the same direction. When you lay each herb bundle on top of the previous one, use the top herb bunch to cover the rubber band on the bundle below. Don’t cut the paddle wire as you go; keep wrapping it continuously around the herbs on the wreath.
STEP 5: Alternate textures as you fill the wreath.

For visual interest, alternate the herbs’ textures around the wreath. For example, rosemary and thyme are “bushy,” while bay leaves and sage are “leafy.” Separate like-textured herbs so they contrast visually with the adjacent herbs. You’ll also notice that I’ve grouped all the herbs in distinct bunches, rather than mixing them up. This type of arrangement provides a more modern look, and frankly, it’s easier to assemble the wreath this way.
STEP 6: Wire a hook to the back.

When you’ve finished filling the wreath with herbs, tie the end of the paddle wire to the back of the wreath. Take a look at your gorgeous creation, spin it around, and decide which point you want the top of the wreath to be. Then make a loop with more wire on the back for hanging.
Jonathan Fong is the author of “Walls That Wow,” ”Flowers That Wow” and “Parties That Wow,” and host of “Style With a Smile” on YouTube. You can see more of his do-it-yourself projects at jonathanfongstyle.com.


 More news and opinions than at a Shabbat dinner, right in your inbox.